
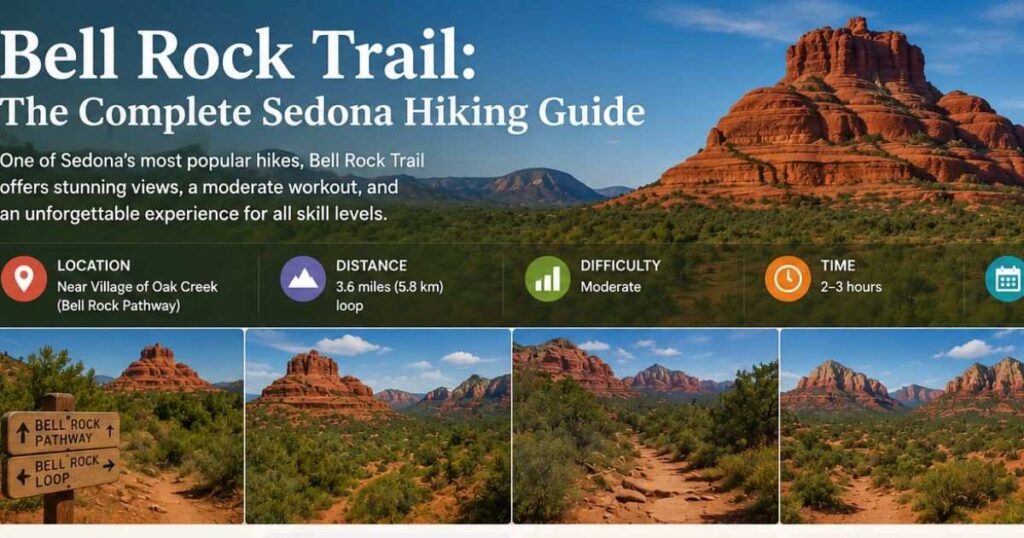
Bell Rock doesn’t look like a mountain you climb, it looks like a 300-foot red sandstone bell someone set down in the desert. Most first-time hikers assume the Bell Rock Trail is a single flat loop but the reality splits into three distinct experiences: an easy dirt pathway, a Class 2 scramble and a genuinely dangerous Class 4-5 push to the summit that rangers don’t recommend. The Bell Rock Trail sits five miles south of Uptown Sedona in the Village of Oak Creek, right off Highway 179. This guide breaks down the real distance, the parking situation and which version of the climb actually matches your fitness level.
In this guide you will find:
- The exact distance and elevation gain for the Bell Rock Trail main loop
- Where to park and how much the Red Rock Pass actually costs
- Why the scramble gets more dangerous than it looks from the parking lot
- How Bell Rock compares to Cathedral Rock for a shorter Sedona visit
- The vortex reputation behind Bell Rock and what visitors report feeling
- The best months to avoid both crowds and 100°F heat
Quick Info Box
| Detail | Information |
| Location | Village of Oak Creek, Sedona, Arizona (Coconino National Forest) |
| Nearest Airport | Flagstaff Pulliam Airport (FLG), 25 miles / 40 minutes north |
| Best Time to Visit | March-May and September-November |
| Travel Time from Phoenix | About 2 hours by car (119 miles) |
| Days Recommended | Half a day for the trail 2-3 days for the wider Sedona area |
| Average Daily Cost | $80-120 budget, $180-280 mid-range, $350+ luxury (per person, lodging included) |
Bell Rock Trail Distance and Difficulty
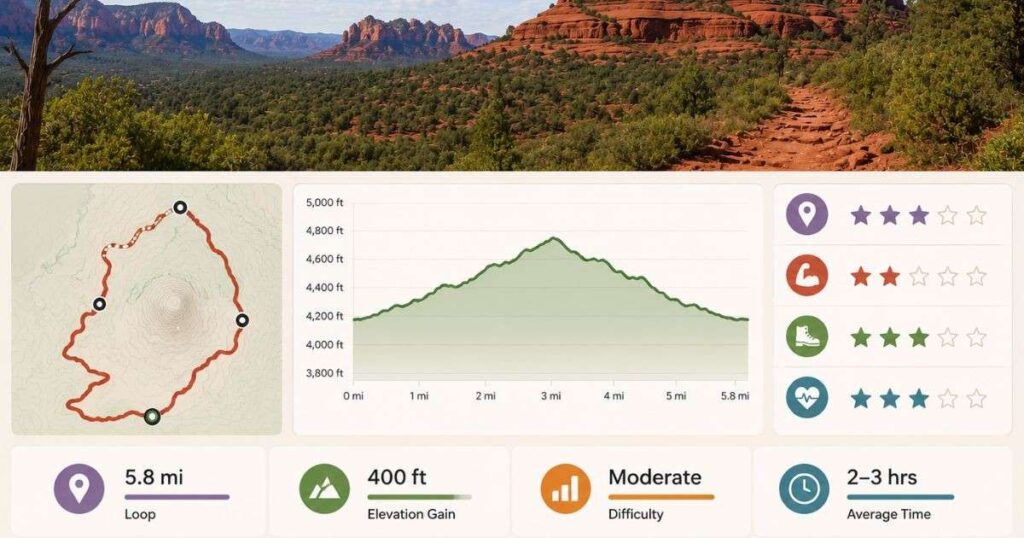
The Bell Rock Trail main loop covers 3.6 miles with 340 feet of elevation gain and the Forest Service rates the base pathway as easy and family-friendly. The surface is packed with red dirt, wide enough for two hikers side by side, with a few short, steep sections near the rock’s base. This is the same trail many locals call the Bell Rock Pathway and it connects directly to the Courthouse Butte Loop for hikers who want a longer 4-mile circuit.
The optional scramble is where the hike changes character completely. It starts gently on the south face, then steepens into Class 2 terrain hands-on-rock climbing but nothing technical up to a wide ledge just below the summit. Most hikers stop here and honestly, that ledge has better views than the actual top.
Continuing past that ledge pushes into Class 4 and Class 5 climbing and the route markings disappear. Hikers have died attempting the unmarked upper section of Bell Rock, so treat any social media video of someone standing on the summit as an outlier, not a benchmark. A GPS app with the offline trail map downloaded solves most of the navigation problems reviewers mention.
Pro Tip: Stop at the first wide ledge below the summit you get the same 360-degree views without the unmarked Class 4 terrain above it.
Parking, Fees and the Red Rock Pass
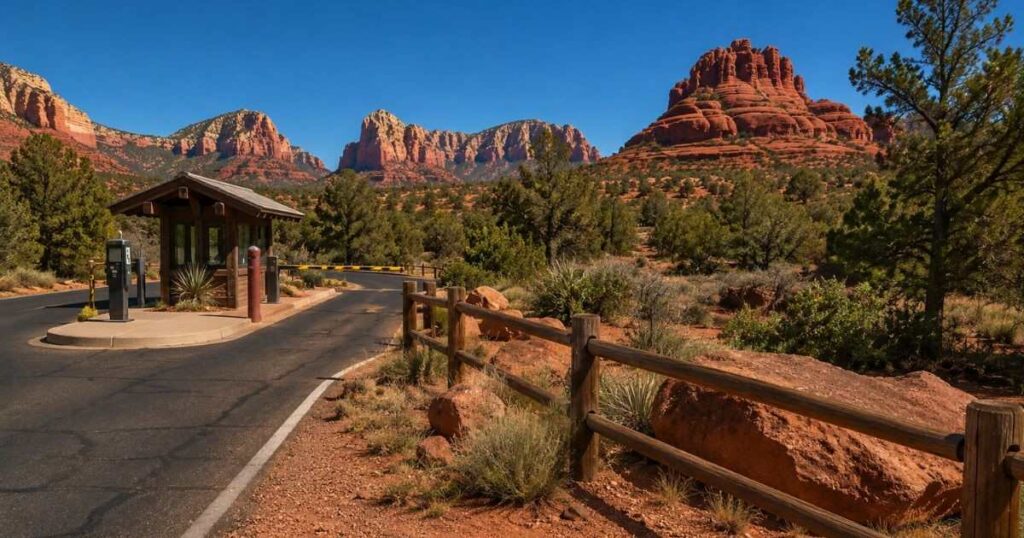
Every trailhead around Bell Rock sits inside a U.S. Forest Service fee area, which means a Red Rock Pass or America the Beautiful Pass has to be visible on your dashboard. The Red Rock Pass costs $5 for a day and $15 for a full week and you can buy it from the self-serve machine at the Bell Rock Pathway Trailhead itself. The America the Beautiful Pass runs $80 for the year and also covers Montezuma Castle National Monument, 30 minutes south.
Parking is the real bottleneck at Bell Rock, not the hike itself. The main lot is on Highway 179 in the Village of Oak Creek and it regularly fills before 8am on weekends between March and May. An overflow lot sits across the highway and there’s a second access point at the Bell Rock Vista Trailhead slightly north of the main lot.
Restrooms are available at both the northern and southern trailhead parking areas, which matters since there’s nothing else nearby. Horses are permitted with a dedicated trailer parking spot and mountain bikers use the pathway heavily, so hikers should stay alert on the wider sections. Dogs are welcome on a leash the entire way.
Pro Tip: Arrive before 7:30am on weekends between March and May by 9am, reviewers regularly report a completely full lot with no realistic wait-and-grab option.
Best Time to Hike Bell Rock and What to Expect
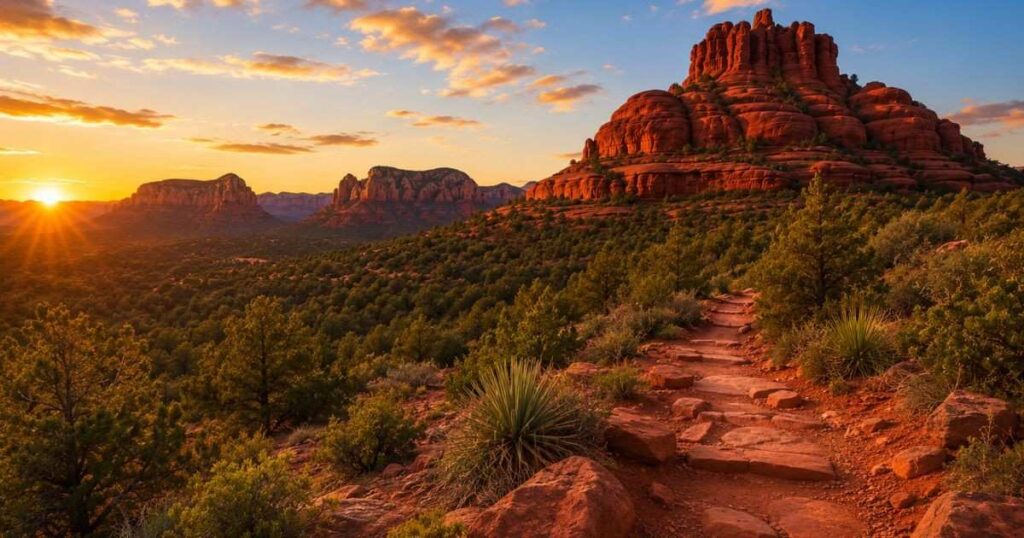
Spring, from March through May and fall, from September through November, bring daytime highs in the mid-60s to low 80s°F and the clearest skies of the year the two windows locals actually recommend for the Bell Rock Trail. Summer temperatures regularly clear 100°F by midday, which turns the exposed, shadeless scramble section into a genuine heat risk. Winter is workable but expect icy patches on the shaded scramble ledges after storms.
For sunset, the upper ledge captures the moment the Twin Buttes to the north and the cliffs to the east turn deep orange and it’s one of the most-photographed views in Sedona. If you’re hiking down after dark, pack a headlamp. The route back down is where most people report losing the trail. The pathway itself stays open and accessible year-round with no seasonal closures.
Trip length depends on which version of the hike you’re doing. The base loop takes 60-90 minutes at a relaxed pace adding the scramble to the ledge pushes it to 2-2.5 hours round trip, which matches what hikers combining Bell Rock with the Courthouse Butte Loop typically report.
Verdict: Aim for a March, April or October morning hike you get the clearest air, the coolest temperatures and the least crowded parking lot of the year.
Bell Rock vs. Cathedral Rock: Which One First?
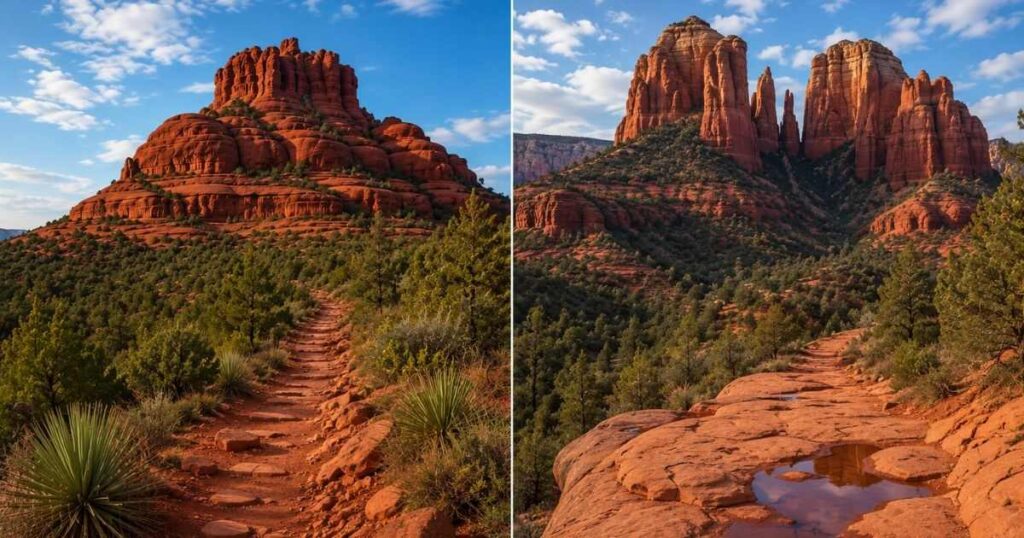
Cathedral Rock Trail sits 15 minutes west of Bell Rock and is the more strenuous, more technical of Sedona’s two signature hikes it’s 1.2 miles round trip but gains 600 feet on slickrock with hand-over-hand sections the whole way up. Bell Rock is longer at 3.6 miles but far gentler on the base loop, making it the better choice for families or anyone without scrambling experience. Photographers generally rate Cathedral Rock’s silhouette as the more iconic shot but Bell Rock’s wider ledges make for a more comfortable, longer stop at the top.
Most visitors with only one morning free should default to whichever trail matches their fitness level rather than trying to fit both in, since the drive between them plus parking search time eats close to an hour. If you have two mornings, hike Bell Rock first, the gentler base loop is a reasonable warm-up before tackling Cathedral Rock’s steeper slickrock the next day.
Pro Tip: Combine Bell Rock with the adjoining Courthouse Butte Loop rather than driving to Cathedral Rock the same day it adds only 30-40 minutes and no extra parking fee.
“Planning more Hawaii day trips? Our guides on things to do in antibes, paris in winter and where to stay in koh samui cover the rest of the region in detail.”
Frequently Asked Questions
How many days do you need for Bell Rock Trail?
A single morning covers the full loop and the scramble to the main ledge comfortably. If you’re combining it with the Courthouse Butte Loop or a Cathedral Rock hike, plan on a full day around the Village of Oak Creek and West Sedona.
Is Bell Rock Trail worth visiting?
Yes, it combines an easy, wheelchair-accessible base loop with an optional scramble that rewards hikers with 360-degree red rock views for almost no technical skill required. Few Sedona trails offer that same range of difficulty on a single 3.6-mile loop.
What is the best time to hike Bell Rock Trail?
March through May and September through November bring the clearest skies and daytime highs in the 60s and 70s°F. Early mornings before 8am also avoid both the midday heat and the parking lot filling up.
Is Bell Rock Trail expensive to visit?
No, a Red Rock Pass costs just $5 for the day and the trail itself is free once you’re parked. The only other cost most visitors add is gas or a shuttle from Phoenix Sky Harbor Airport, roughly two hours away.
Can you do a day trip to Bell Rock Trail from Phoenix?
Yes, easily it’s a 2-hour drive each way, so a full day trip gives you 4-5 hours in Sedona after accounting for driving. Leaving Phoenix by 7am puts you at the trailhead before the parking lot fills for the day.
Final Thoughts
The Bell Rock Trail earns its reputation because it works for almost anyone, an easy 3.6-mile loop for families, a Class 2 scramble for anyone wanting a bigger view and a genuine warning sign for hikers tempted by the unmarked summit route. Skip the crowds by parking before 7:30am on a March or October morning, then climb to the first wide ledge below the summit and just sit there for twenty minutes as the light shifts across Courthouse Butte and the Twin Buttes.